
Angular is a popular front-end framework that helps developers build robust and dynamic web applications. With the release of Angular 17, there are improvements in performance, features, and development experience. Whether you’re new to Angular or upgrading from a previous version, this guide will walk you through setting up an Angular 17 project step by step.
What Is Angular?
Before diving into the setup process, let’s briefly discuss what Angular is. Angular is a platform for building mobile and desktop web applications. By leveraging TypeScript and other technologies, Angular allows developers to create scalable, maintainable applications with ease.
Now, let’s get started with the setup process for an Angular 17 project.
How to Set Up an Angular 17 Project
Setting up an Angular 17 project is straightforward. Follow these steps to get your development environment ready:
Step 1: Install Node.js and npm
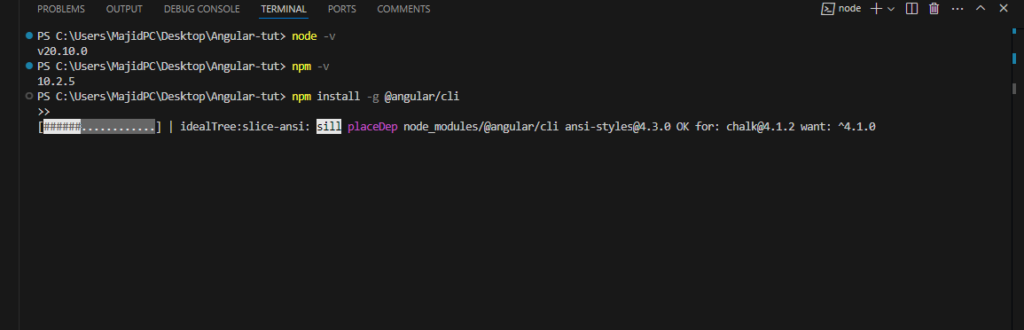
Angular requires Node.js and npm (Node Package Manager) to manage dependencies. To install these:
1.Visit the Node.js website.
2.Download and install the latest version of Node.js, which comes bundled with npm.
After installation, open your terminal or command prompt and run the following commands to verify the installations:
node -v
npm -v
3. This should return the versions of Node.js and npm installed.

Step 2: Install Angular CLI
The Angular Command Line Interface (CLI) is a tool that simplifies the process of creating and managing Angular projects. It allows you to generate components, services, and other elements with a single command.
To install Angular CLI, run the following command in your terminal:
/*******************/
npm install -g @angular/cli
/*******************/
The -g flag ensures that the CLI is installed globally, allowing you to use it across all projects.
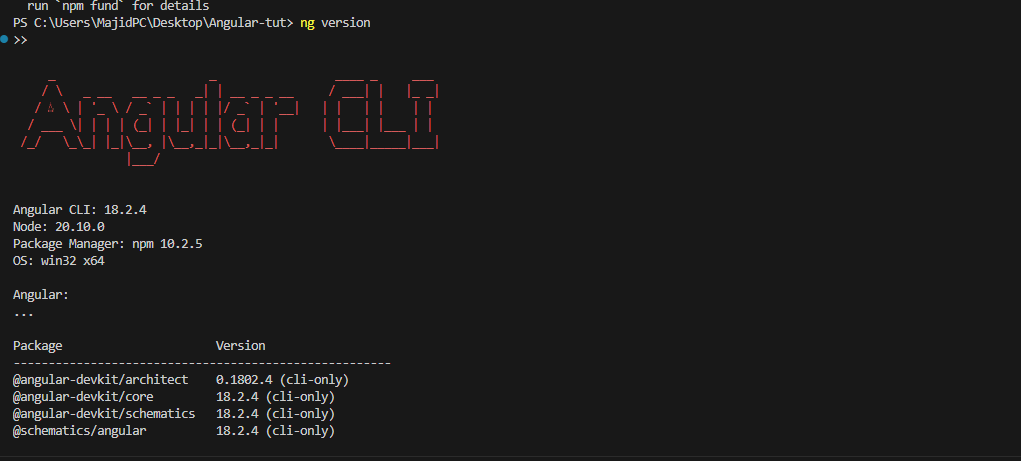
To verify the installation, run:
/*******************/
ng version
/*******************/
You should see information related to Angular CLI and Node.js.
Step 3: Create a New Angular 17 Project
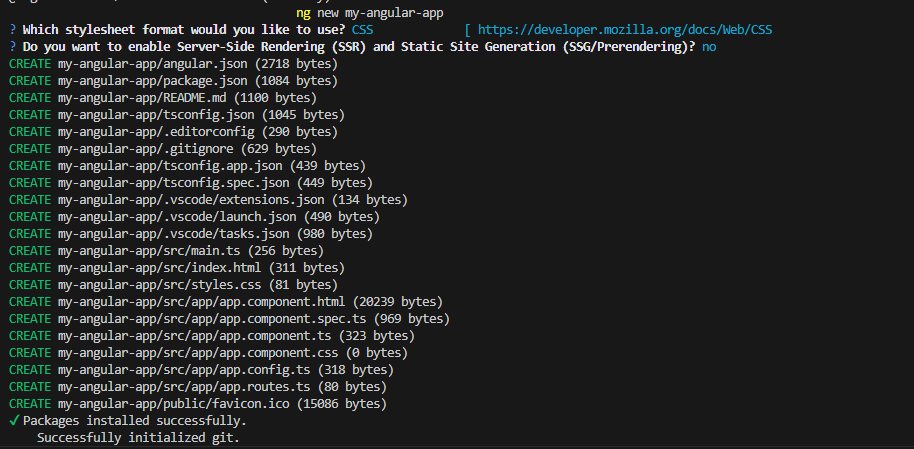
Now that you have the Angular CLI installed, it’s time to create a new Angular 17 project. Use the following command:
/*******************/
ng new my-angular-app
/*******************/
Replace “my-angular-app” with the desired project name.
The CLI will prompt you with a few questions, such as:
- Would you like to add Angular routing?
If you plan to navigate between different pages in your app, select “Yes.” - Which stylesheet format would you like to use?
You can choose between CSS, SCSS, Sass, or Less, depending on your preference.
Once these options are configured, the Angular CLI will generate the project structure and install the required dependencies. The process might take a few minutes, depending on your system and internet speed.
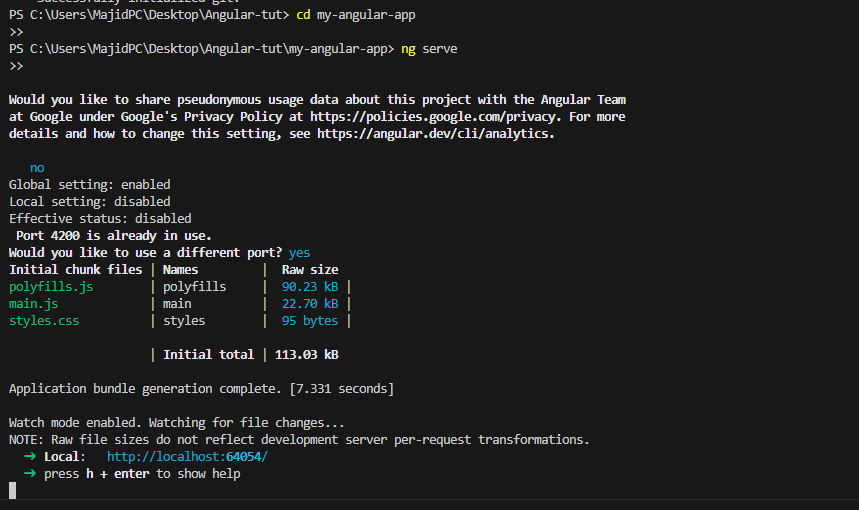
Step 4: Run the Angular Project
After the project has been created, navigate to the project directory:
/*******************/
cd my-angular-app
/*******************/
To start the development server, run:
/*******************/
ng serve
/*******************/
This will compile your project and serve it at http://localhost:4200/. You can open this URL in your browser to see your Angular app in action.

How to Install Angular Version 17
If you’re upgrading an existing project or want to ensure that you’re using Angular 17, use the following steps to install the latest version:
1.Open your terminal and navigate to the project directory.
Run the command to update Angular CLI to version 17:
/*******************/
npm install @angular/cli@17
/*******************/
2. After that, update the project dependencies:
/*******************/
ng update @angular/core@17 @angular/cli@17
/*******************/
3. These steps will ensure that your project is running Angular 17 and has all the necessary updates.
How to Create a Basic Angular Project
Creating a basic Angular project with the Angular CLI is incredibly simple. Once you’ve followed the setup steps above, you’ll already have a functioning app. To create new components, services, or other elements in your app, use the following commands:
To create a new component:
/*******************/
ng generate component my-component
/*******************/
1.To create a new service:
/*******************/
ng generate service my-service
/*******************/
2.These commands automatically update your project files, saving you time and reducing manual coding.
For a more detailed tutorial on creating a new project, visit the official Angular guide.
How Should I Structure My Angular Project?
Angular projects follow a modular architecture, which means each feature or functionality can be organized into its module. This makes the codebase easy to manage and scale.
Here’s a suggested structure for your Angular 17 project:
- src/app: Contains all the components, services, and modules.
- app.module.ts: The root module of the app.
- app.component.ts: The root component.
- /components: Folder for all the individual components.
- /services: Folder for all the services.
- /models: Folder for data models (if needed).
By maintaining a modular structure, you can improve code readability and reusability, especially as your project grows in complexity.
Conclusion
Setting up an Angular 17 project is a straightforward process, even for beginners. With tools like the Angular CLI and Node.js, you can quickly get started building powerful applications. By following best practices and structuring your project well, you’ll be on your way to mastering Angular development.
Now that you’ve learned how to set up and structure your Angular 17 project, get started with creating your first Angular app here!